Mastering the Art of Varnishing.
Slathering some oil-like substance onto a surface seems simple, doesn’t it?
It’s not until you take that left turn into the dark, treacherous road that is ‘varnishing’, that you sit back and realise the difficulties that are likely to arise.
Relax, it’s not the end of the world. How often do we take on a challenge thinking ‘we’ve got this one in the bag’ – only to find ourselves Googling “for Dummies” books and other tutorials as things go a little pear-shaped?
We think it’s all good fun in the name of learning new skills – and that’s a good space to be in. So below you will find our tips on how to varnish (wood surfaces) with minimal frustrations.
Once you’re done, we’d love to see your handywork – so please do feel free to post your before and after pics on our social media pages 😉
Righto, here we go.
The Temperature has to be correct.
Temperature can be a finicky thing . . . and so can varnish.
Our current weather conditions make it an ideal time to take on this project as it isn’t too cold nor too hot. For varnish to cure effectively, you would want the surface as well as room/surrounding temperatures to be between 21 degrees Celsius and 23 degrees Celsius.
If the temperature drops too low, you could end up prolonging the curing process by days, if not weeks. If it’s too hot, the varnish could evaporate too quickly and comprise the overall quality of your workmanship.
Prep, prep, and some more prep.
Think of varnish as that one person you know that sneezes wherever you go – the allergy whizz of your social group.
Varnish is just as sensitive to dust and dirt. It is vital that you ensure that the surface and surrounding areas are immaculately clean before tackling your project.
This step would also include the following:
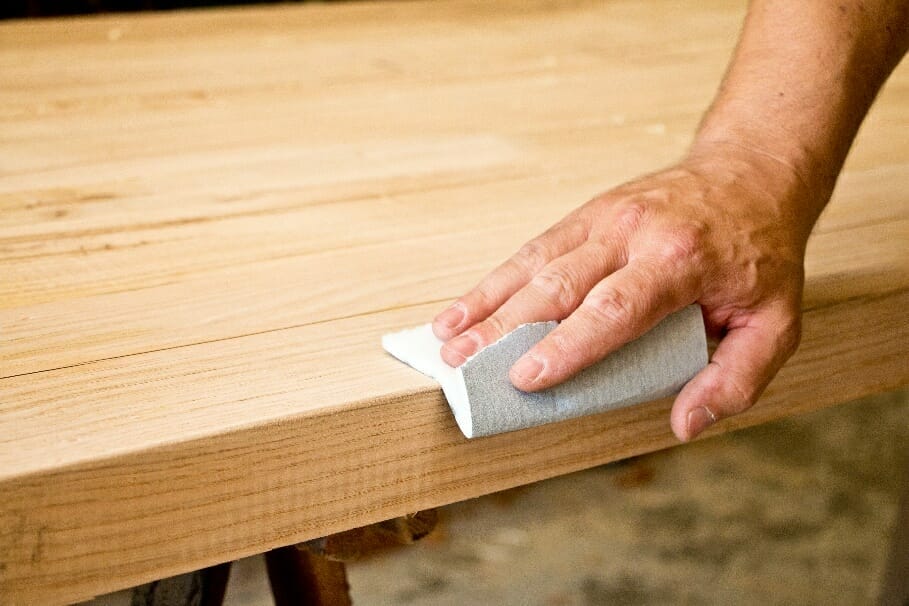
- Preparing and sealing the bare wood: sand the area until smooth with no unevenness.
- Preparing previously varnished surfaces: sand with a fine-grit paper, roughly 220–320 grit size. If you see any spots where the old varnish has separated from the wood, make sure to scrap these areas before sanding.
- Apply a coat sealer: this is the last step after preparing the surface. Apply a thin layer and re-sand the area slightly to create a rough surface.
*All the sanding will surely create a lot of dust so do not forget to vacuum, wipe down and clean the area again*
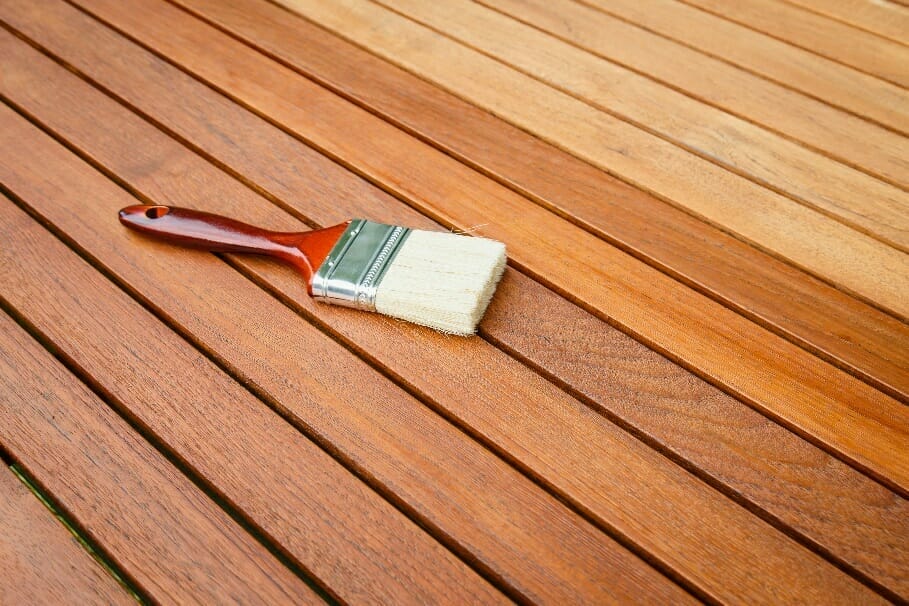
Choose the correct tools.
We do not want to compromise the finish, therefore the tool we select needs a bit of thought. You can apply varnish with a roller, a pad or a brush. What is important is the quality of the brush itself – make sure it has been made with natural hairs.
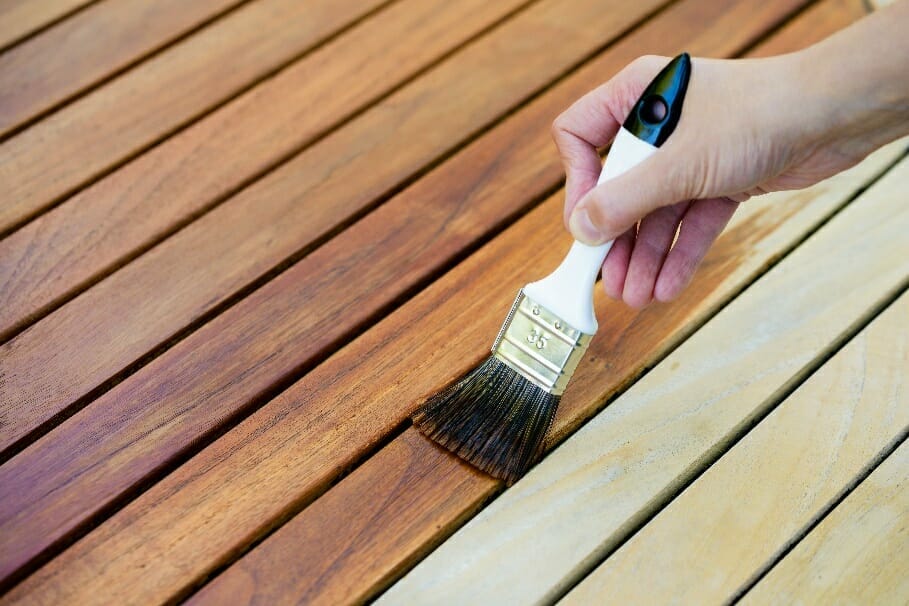
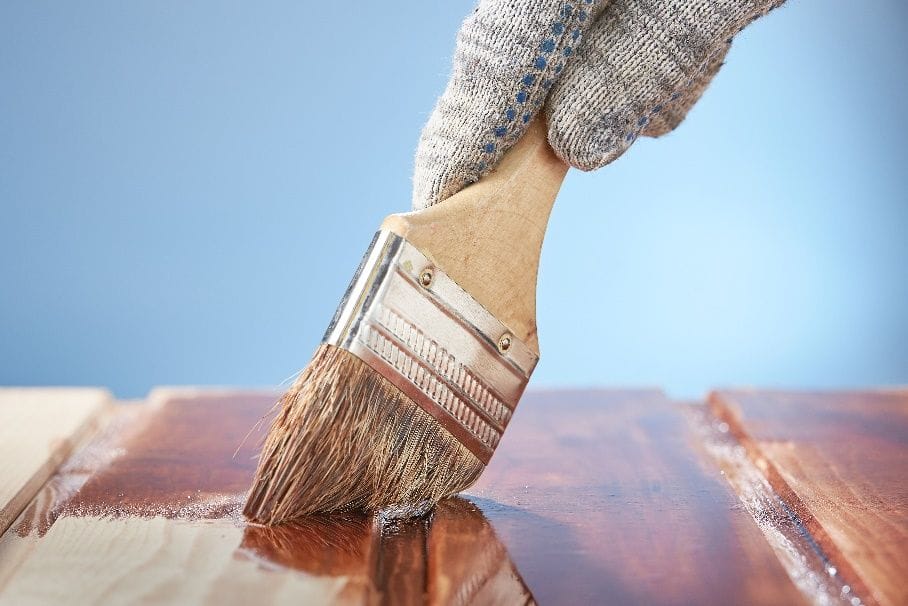
Time to apply the varnish.
To match your high-quality tools, you will need high-quality varnish.
- With a clean stirring stick, stir the varnish thoroughly, but do it slowly enough to avoid forming air bubbles. Pour your varnish through a medium or fine paint strainer into a clean container.
- To make the varnish flow properly, add a thinning agent to the varnish in your mixing cup as needed.
- When varnishing, work with a light touch allowing only the tip of your brush to bend.
- Start in the upper-left corner (if you right-handed), brushing in the direction of the wood grain.
- Mostly importantly, never paint back and forth.
- Once the first coat is on, lightly drag the tip of your brush over the surface to smooth out any remaining streaks or lingering bubbles.
- After the first two coats have dried, sand down the area again lightly (do not forget to clean the dust off again) and finally, paint the last thin coat.
Hyper Paint has all you need for your varnishing venture, from products, to tools, straight through to the friendly advice you’ll receive any one of our branches.
Shop online or visit our stores >> https://hyperpaint.co.za/