Distressing wood has become a popular technique to use on wooden furniture. It transforms plain and inexpensive furniture into antique treasures. This well worn look gives your furniture a rustic, vintage appearance that you can produce at home. If you want to give an item of furniture a distressed finish then follow these basic steps.
With all DIY projects you undertake, it is essential to prepare accordingly. If you are going to be painting a wooden item of furniture then it is essential to ensure that the surface is prepared. This may require the use of paint thinner and sandpaper. Once you have achieved a smooth, raw surface you can take the next step.
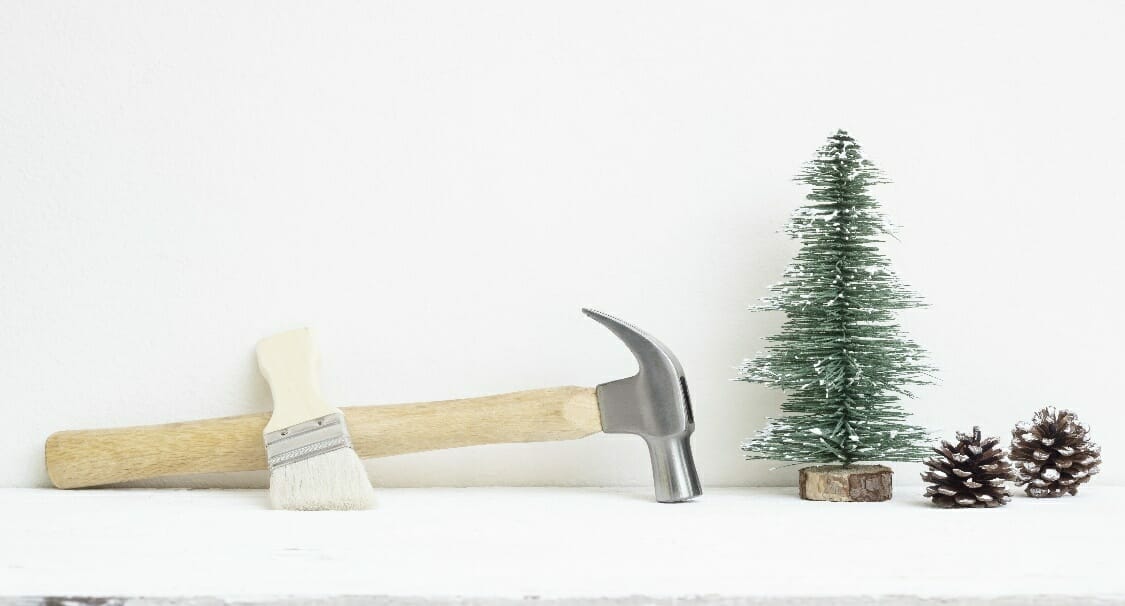
 For a truly distressed look you may want to hammer random indentations into the wood in order to create the appearance of a worn and weathered piece of furniture. This can be done with a hammer, a shoe or scratched with a sharp object. You can also create the illusion of antiquity but placing a wet glass on the raw wood in order to leave water rings on the wood.
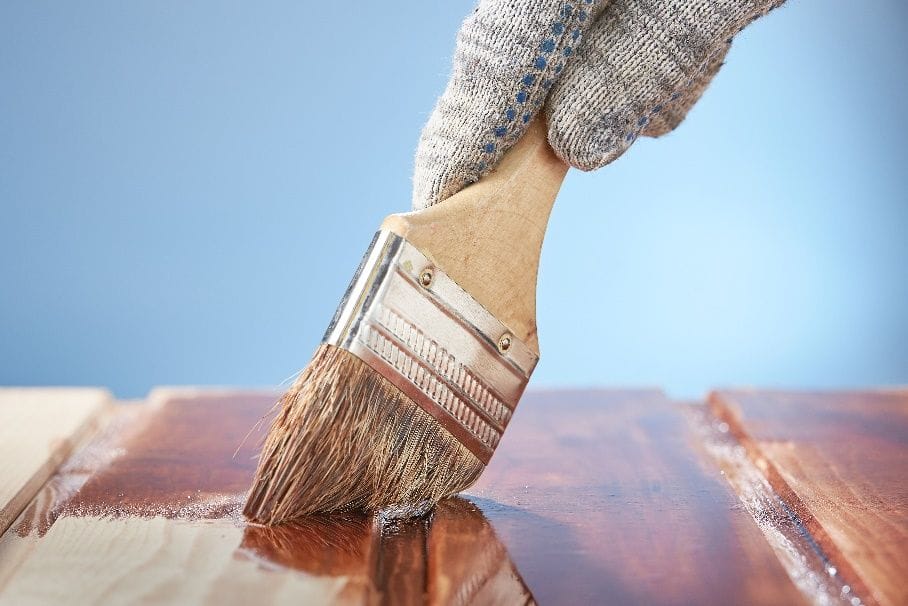
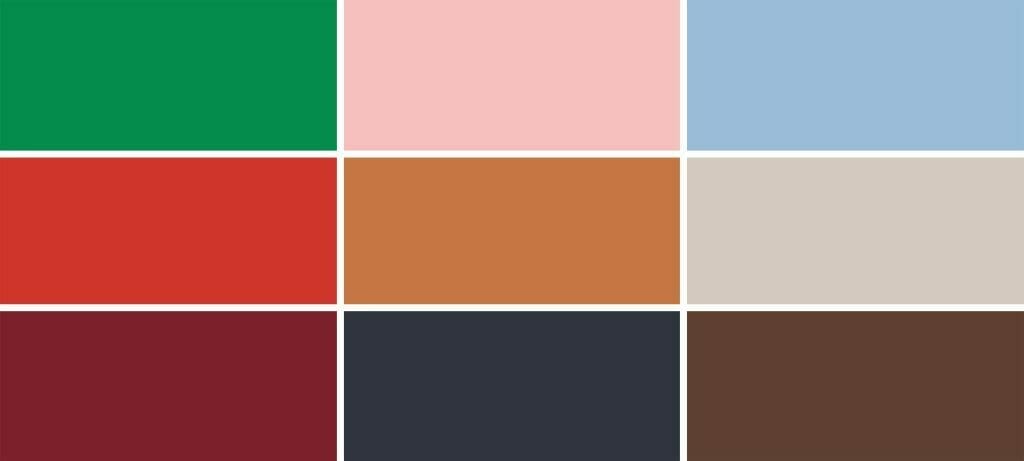
When you commence the painting of your furniture ensure that the paint is evenly distributed over all surfaces. Once this is complete you will need to leave the paint to dry for approximately 24 hours. Once the paint is dry you can apply a second coat of paint. Distressing is most effective when two contrasting colours are used.
Once the second coat of paint has dried you use sandpaper in order to distress the paint in order to reveal sections of the bottom coat of paint. There is not standardised method to sanding; this can be done according to your personal preference.
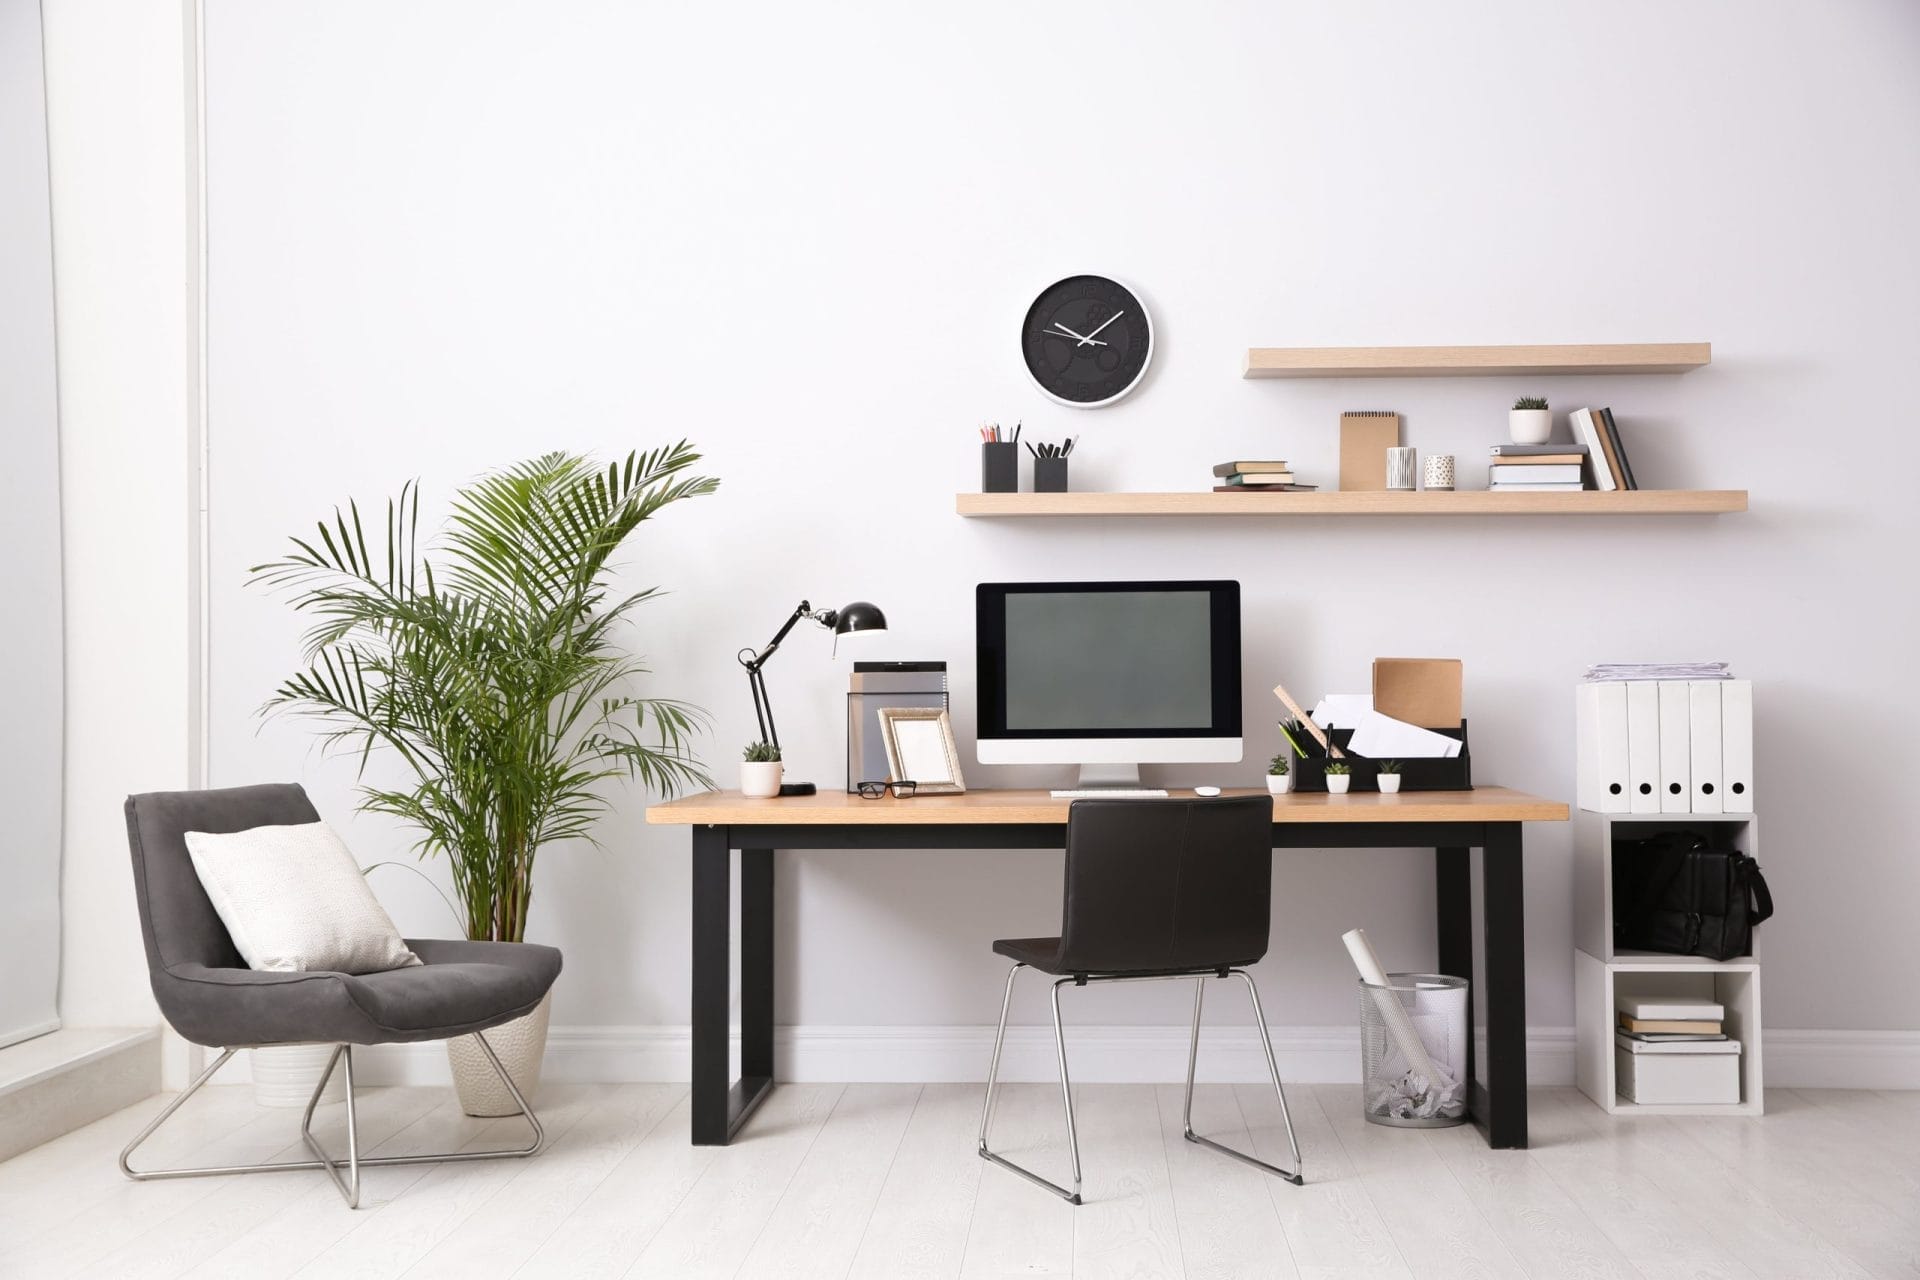
Distressing wooden furniture is a great way to personalise ordinary items like tables, frames and chairs. It is also a great DIY project that requires very few products. If you would like advice on this or other DIY projects then chat to the experts at Hyper Paint.